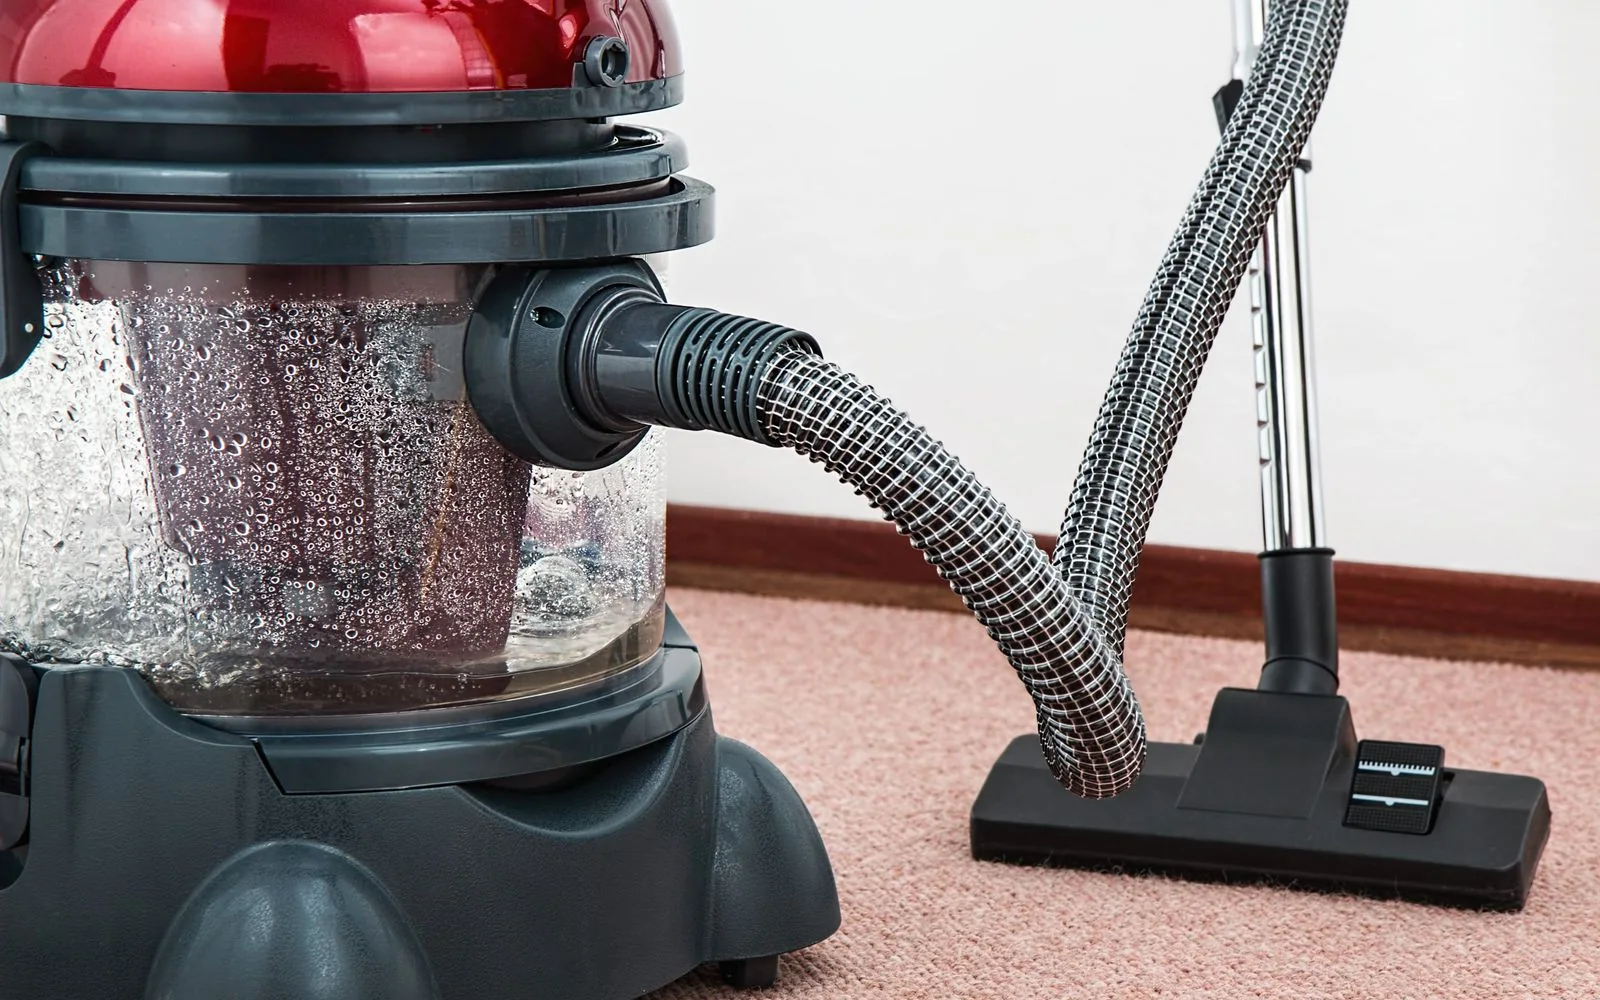
The job ends when the machine is ready again
After dealing with a pet mess, it is understandable to want to put the cleaner away immediately. Build the reset into the original plan instead. The machine has collected dirty liquid and debris, and its next use will be easier if you follow the after-use procedure while everything is still accessible.
The steps below organize that routine. They do not replace your model’s directions for safe disassembly, rinsing or drying. Use only the parts and methods the manufacturer permits.
Find the instructions before starting
Download the care instructions for the exact model, and identify which tanks, tools and hose components are user-removable. Save a link to the relevant manufacturer video if one is available. BISSELL’s SpotClean ProHeat after-use guidance, for example, covers emptying and rinsing the dirty-water tank and cleaning removable tool sections.
Do not assume that “self-cleaning” means no further care. Read what that feature actually cleans and what still needs attention. A rinse accessory may have a defined procedure rather than being a substitute for all tank and tool care.
Related guide: Spot cleaner not picking up water? What to check before replacing it.
Prepare a place for each component
Before opening the machine, choose a suitable place to handle dirty parts and another place for cleaned parts to dry. Keep the route simple and away from food. Follow electrical precautions, including switching off and unplugging where directed.
As you remove permitted components, note how they fit together. Do not force seals, clips or float assemblies. If a part does not move as the manual shows, stop and check the model rather than treating a similar machine’s video as an exact instruction.
To plan drying and storage space, see storing a spot cleaner in a small apartment.
Inspect while you reset
Look for obvious damage, a displaced seal or material caught in a permitted opening. If the machine leaked or failed to recover liquid, record the symptom before forgetting it. Use the manufacturer’s troubleshooting process rather than running repeated full tanks in the hope that the problem disappears.
Keep any parts that need replacement separate and labeled. Order by model number, not appearance. If a component is damaged, assess whether the machine should remain out of use until support confirms the next step.
Store it so you can finish the routine
Allow parts to dry as instructed before reassembling or storing them. Keep chemicals in their labeled containers, and secure the cord and hose without strain. Put the tool you use most in an accessible place rather than loose at the back of a cupboard.
A brief household checklist can make the task easier to share: care completed, parts dry, machine reassembled, supplies checked. You do not need a complicated maintenance system. You need a consistent reset that leaves the next person able to use the cleaner without first dealing with yesterday’s mess.
Sources & further reading
Manufacturer information and reference material consulted for this guide. Model specifications and care instructions can change; check your exact model’s manual.